Key takeaways
- Every WooCommerce URL changes on Shopify, so a complete 301 redirect map is the most important step for SEO.
- Products, customers, orders and blog posts can all be migrated; customer passwords cannot, so plan how customers sign in.
- Shopify allows three options per product, so WooCommerce products with more attributes need restructuring.
- Crawl the old site before you start: its URLs, titles and meta descriptions become your checklist.
- Test on the new store before switching the domain, then watch Search Console closely for the first month.
WooCommerce is flexible, but many growing brands move to Shopify to stop managing hosting, security updates and plugin conflicts. The move itself is well understood. What goes wrong — lost rankings, broken links, locked-out customers — is almost always a planning problem. Here is how we run a WooCommerce to Shopify migration, step by step.
Before you start: audit what you have
Crawl the live site with a tool such as Screaming Frog and export every indexable URL with its title, meta description, H1 and canonical tag. Export your top landing pages and linked pages from Google Search Console too. This crawl becomes your redirect map and your SEO checklist.
- List every plugin and what it does. Each needs a Shopify feature, an app or a decision to drop it.
- Note custom fields, product add-ons and pricing rules; these usually become metafields, apps or Shopify Functions.
- Record integrations: payment providers, ERP, shipping, email marketing and reviews.
Step 1: Map your data to Shopify
- Products and variations: WooCommerce variations become Shopify variants. Shopify supports up to three options per product (for example size, colour and material), so products with more attributes need to be restructured, split or handled with metafields.
- Categories and tags: Product categories become collections — manual or automated by rules — and tags carry over for filtering and search.
- Custom fields: Data held in custom fields moves to metafields, which your Shopify theme can display anywhere.
- Customers and orders: Customer records and order history can be imported, so returning shoppers and your service team keep their history.
- Blog posts and pages: Posts move to a Shopify blog and pages to Shopify pages. Check the images and links inside the content.
Step 2: Choose your migration method
Smaller catalogues can be moved with Shopify's free Store Importer app from a WooCommerce export. For larger or more complex stores, a bulk tool such as Matrixify gives full control over products, metafields, customers, orders and redirects in spreadsheets you can review before import. Custom data, subscriptions and integrations usually need a developer.
Step 3: Build your 301 redirect map
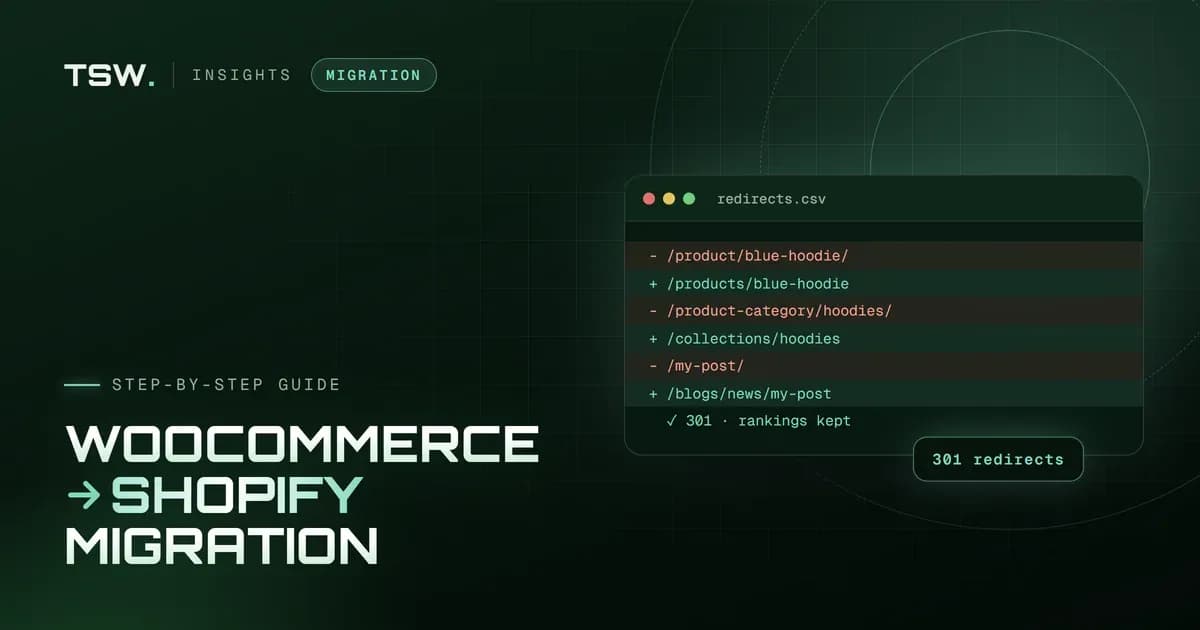
This is the step that protects your SEO. WooCommerce and Shopify use different URL structures, so every product, category, post and page URL changes:
- Products:
/product/blue-hoodie/becomes/products/blue-hoodie - Categories:
/product-category/hoodies/becomes/collections/hoodies - Blog posts:
/my-post/becomes/blogs/news/my-post - Pages:
/about-us/becomes/pages/about-us
Map every old URL to its closest new equivalent — never everything to the homepage — and import the list into Shopify's URL redirects in bulk. Keep product and collection handles the same as the old slugs wherever possible, so the mapping stays one-to-one.
Step 4: Carry over your on-page SEO
- Copy titles and meta descriptions into each product, collection and page's search engine listing.
- Keep headings, product copy and image alt text for now. Rewriting everything at launch makes it hard to see what moved rankings.
- Check structured data: product pages should output price, availability and reviews.
- Update internal links so they point at the new URLs directly, not through redirects.
- Submit the sitemap Shopify generates at
/sitemap.xmlin Search Console.
Step 5: Plan customer accounts and payments
Customer passwords are stored encrypted and cannot be moved between platforms. After import, customers either sign in with a one-time code or set a new password, depending on your customer account settings. Tell them before launch with a short email, so nobody is surprised at checkout.
Set up Shopify Payments or your payment provider, taxes, shipping zones and notification emails, and place real test orders with each payment method.
Step 6: Test, then launch
- Build and test the new Shopify store before pointing the domain at it.
- Test your top landing pages, checkout, discount codes and emails on mobile and desktop.
- Run a final import of new orders and customers just before launch.
- Switch the domain at a quiet time and test the redirects from your crawl list straight away.
- Keep the WooCommerce site available privately for a few weeks in case you need to check anything.
After launch: the first 30 days
Expect some movement in rankings while Google recrawls the site; the redirects tell it where everything went. Check the Page indexing report in Search Console daily in the first week, fix any missed redirects and compare traffic to your top pages with the pre-launch baseline. Pages are usually faster on Shopify; if yours aren't, read our guide to speeding up a Shopify store.
Common WooCommerce to Shopify migration mistakes
- Redirecting everything to the homepage, which search engines treat as a soft 404.
- Changing product handles and copy at the same time as the platform.
- Forgetting the images and links inside blog posts.
- Launching without testing taxes, shipping rates and every payment method.
- Leaving the storefront password on after launch, which blocks search engines.
Still deciding between the two platforms? Read our Shopify vs WooCommerce comparison. Ready to move? Our Shopify migration team handles the data, the redirects and the SEO checks, and builds the new theme alongside it. Tell us about your store.
Filed under
 Jay Patel